
Tomatoes eaten straight from the garden are one of summer’s simple pleasures. They are delicious, fresh, and versatile – especially when they are growing right in your garden! Starting tomato seeds and nurturing those seedlings into strong, healthy plants can be intimidating, but is truly a rewarding process.
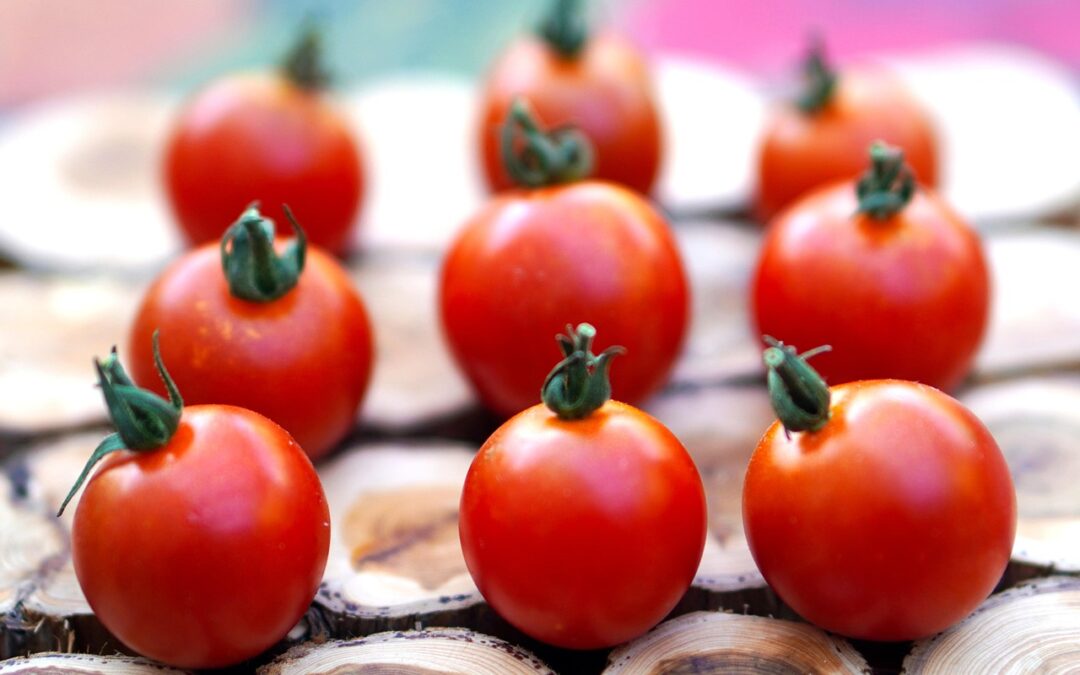
The fun part is choosing your tomato seeds. This year, Huckleberry Homestead is growing three varieties of tomatoes: Yellow Pear tomatoes, Sweetie Cherry tomatoes, and Moneymaker tomatoes. The first two are small varieties that are high producers, taste wonderful, and have a nice shelf life. The Moneymaker tomato is a large fruit that is the perfect size for slicing on burgers, serving with fresh mozzarella and basil, and, of course, canning and preserving.
The easy part is planting the seeds, using seed trays that are either pre-prepared or reusable seed trays with seed starter. You know the drill – plant, cover, water. It’s always good to check your germination time for each type of tomato, found on the packet. During the germination period, warmth is key. Some folks prefer using a warming tray, but I have found my seeds germinate just fine on the kitchen counter or in the greenhouse.

Tomato Seedlings
As your plants grow, remember to “thin out” your seedlings to one plant per pod. Be tough and unforgiving. The weaker seedlings need to be gently pulled out so as not to disturb the strong seedling and to allow it to thrive. I like to throw the weak seedlings into the garden or compost pile. I often get surprise plants that way! I have experimented with replanting the weaker seedling, and it just does not work. Let them go!
Where it starts to get tricky is when those tomato seedlings start to get “leggy”. This is when the seedlings are not quite getting the light they would prefer, and start to grow tall and flop over. “Leggy” seedlings try to push themselves closer to the sunlight, becoming strained in the process. While you can help a leggy tomato plant during transplant, come up with a long-term solution for increased light for your plants, whether it is moving them to another location or investing in grow lights.

Tomatoes in My Greenhouse
Regardless of whether your seedlings are “leggy” or just hitting that 4” mark and growing their jagged tomato leaves, now it is time to transplant your seedlings. Here’s the thing: just because their roots have not taken up the whole seed pod does not mean they will continue to thrive. Seed starter is only designed to get the seedlings germinated and going for a few weeks. After that, the food runs out and the seedlings that look so promising will begin to starve.
When you do your first transplant, a 4-6” pot works great. Potting soil is an option if you are just doing a few plants. I like to use regular topsoil mixed with peat moss, and amend with my favorite tomato fertilizer so I can monitor the amount and consistency of nutrients that the tomatoes get. Watching the plants perk up or change colors helps me to understand what they need.